HEIC is efficient and works well inside Apple’s ecosystem, but some upload forms, older tools, and recipients still expect JPG. Converting is straightforward; choosing a workflow that makes the output and the handoff clear is the part worth getting right.
Choose the destination before the format.
If the recipient only needs a broadly compatible image, JPG is usually the useful answer. If the destination accepts HEIC, keeping the original may preserve more information and avoid an unnecessary re-encode. The important step is to create a new output and leave the original in Photos or Files.
Check the file size, not just the extension.
A JPG can still be too large for an application form or email attachment. A reliable workflow lets you set a target size, review the expected change, and see the final file before you send it.
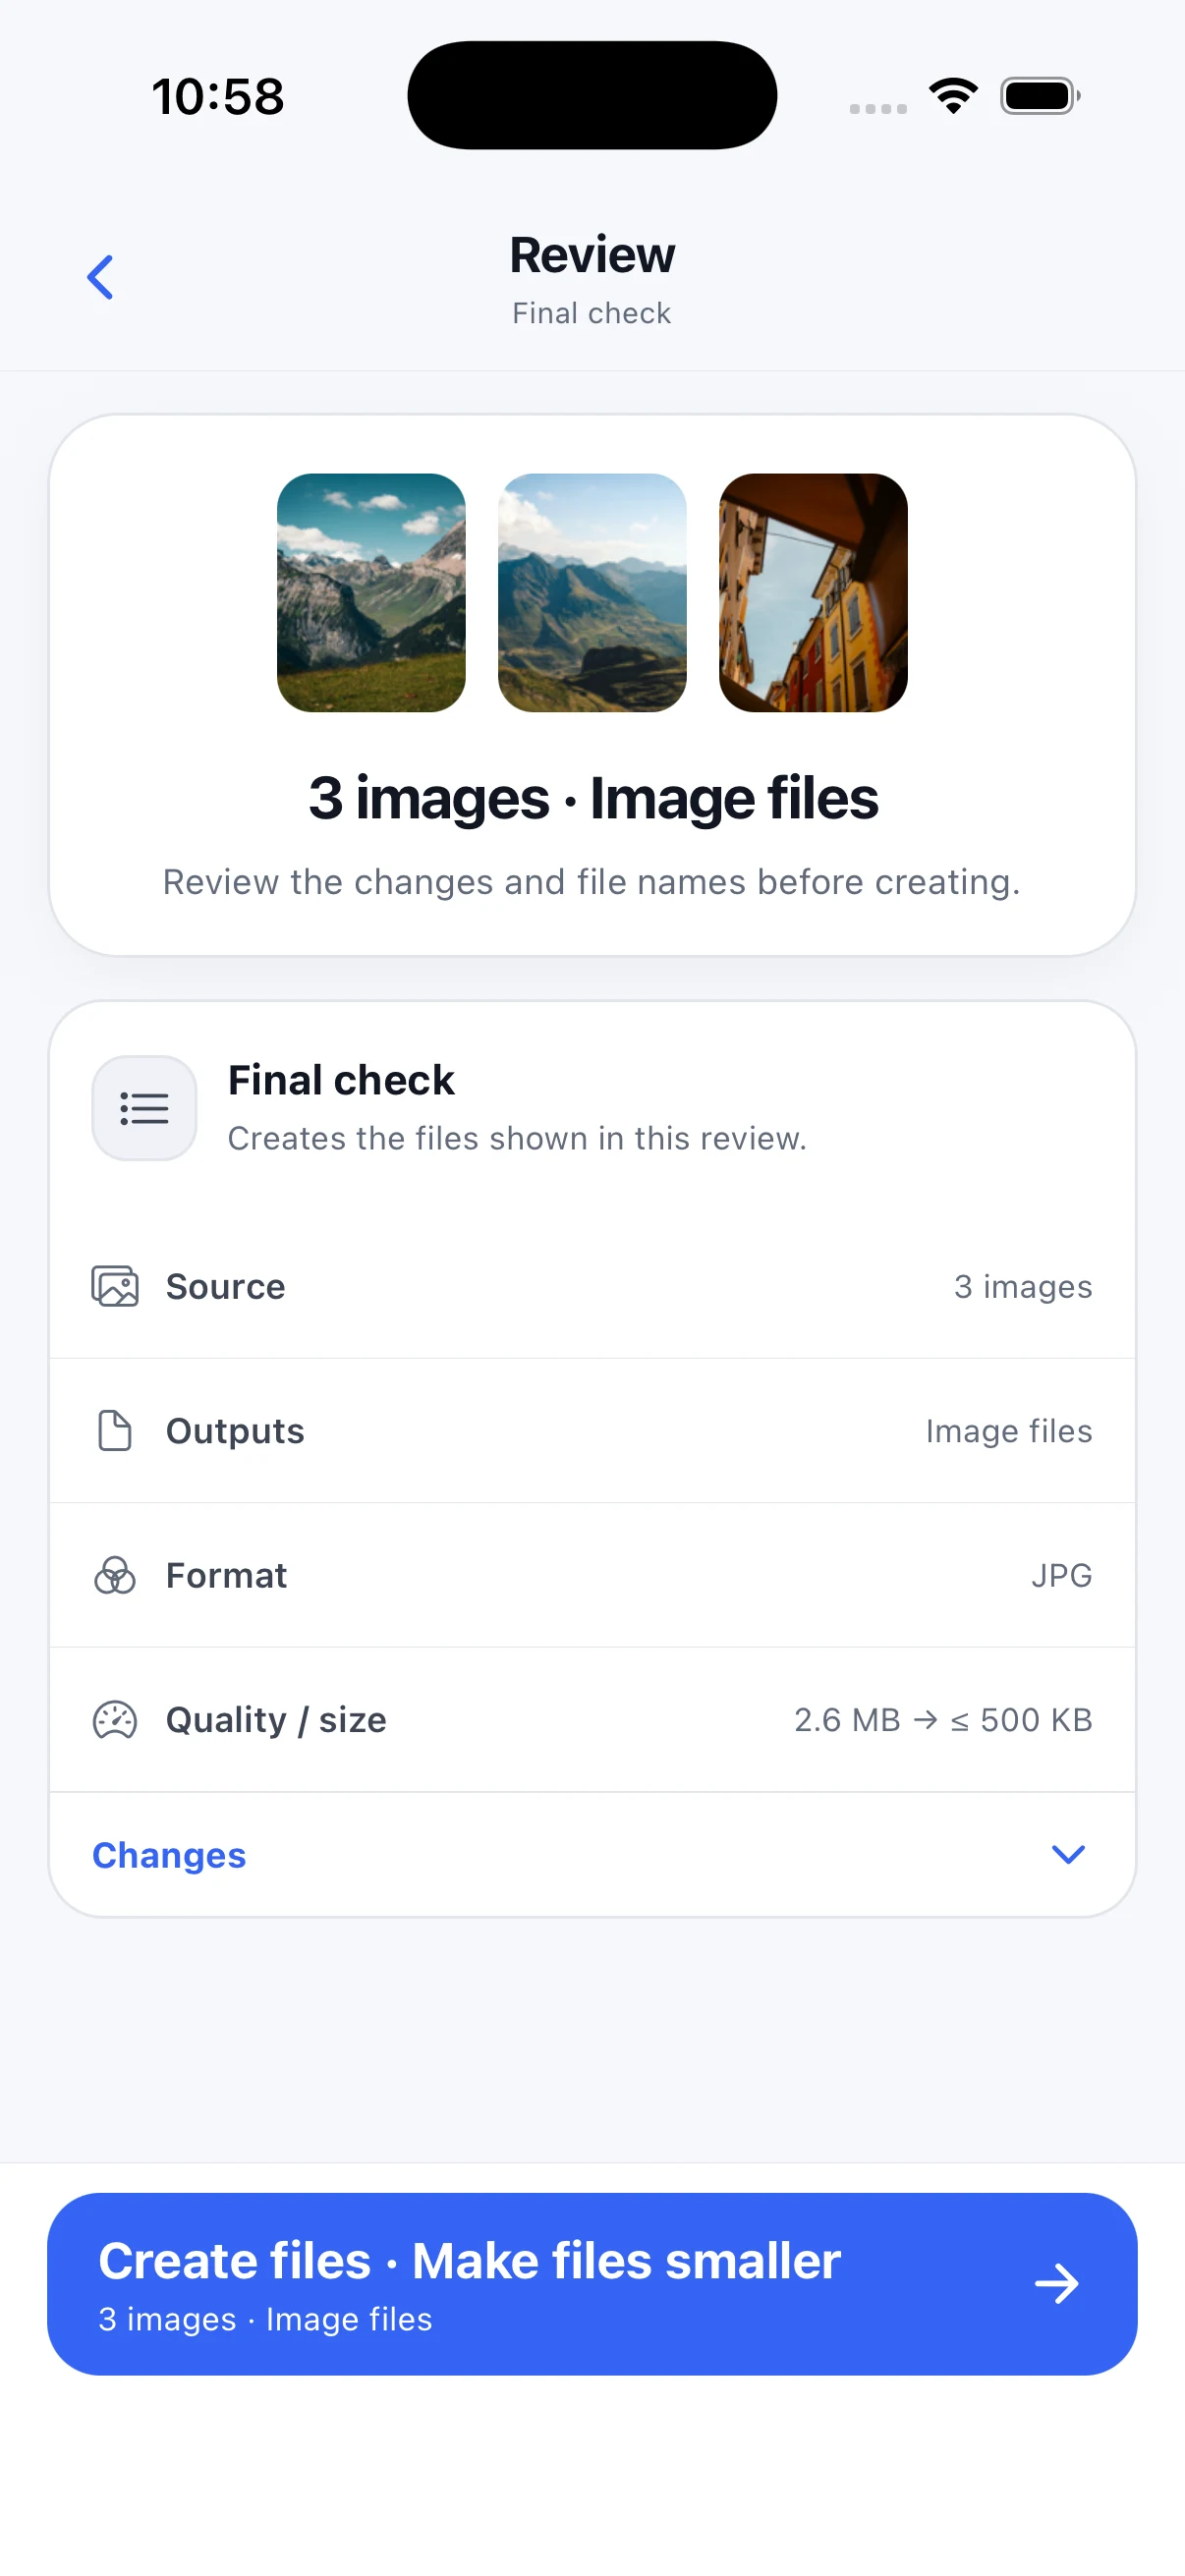
Use a local workflow when the image is personal.
Online converters can be convenient, but uploading a personal photo creates a second question: where does the file go, and when is it deleted? A local-first workflow keeps the conversion on the device and makes the handoff explicit.
Need the file now?
PowerIMG turns HEIC conversion, target-size compression, and delivery into one reviewable iPhone and iPad workflow.